
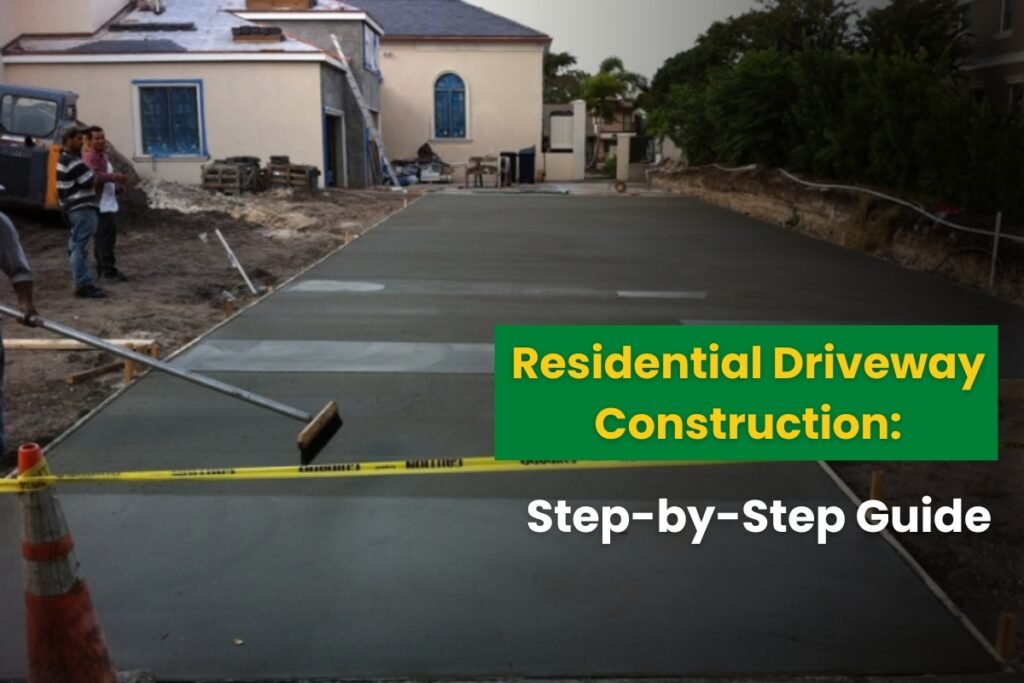
A residential driveway is more than just a place to park your car, it’s a critical part of your home’s curb appeal, property value, and everyday functionality. Whether you’re upgrading an old, worn-out surface or starting from scratch, understanding the step-by-step process of driveway construction helps you make informed decisions and ensure lasting results.
Here’s an expert-level breakdown of how a residential driveway is built, from groundwork to the final finish.
Planning and Design
Every solid driveway starts with a smart plan. Homeowners work with contractors to determine dimensions, layout, material, and drainage requirements. A good design considers vehicle traffic, water flow, local climate, and the surrounding landscape.
Before any ground is touched, utility lines must be marked to prevent damage. Permits and approvals may also be needed, depending on local regulations.
Site Preparation and Excavation
Once the design is finalized, site preparation begins. This includes clearing vegetation, rocks, and debris. Trees or stumps near the driveway path are removed, and the area is leveled.
Next comes excavation, one of the most critical steps. Proper excavation in road construction, including residential driveways, ensures a stable foundation. Contractors dig to the required depth based on the soil condition and driveway material. Poor excavation leads to weak support and premature cracks, especially in heavy-use areas.
Subgrade Evaluation and Stabilization
After excavation, the exposed soil, or “subgrade,” is compacted and tested for load-bearing capacity. If the native soil is too soft or expansive, stabilization methods like adding crushed stone, geotextile fabric, or lime treatment may be used.
A strong subgrade prevents the driveway from shifting or sinking over time. This step is especially important for regions that experience heavy rainfall or freeze-thaw cycles.
Base Layer Installation
The base layer acts as the backbone of the driveway structure. It typically consists of 4–8 inches of compacted crushed stone or gravel. This layer provides drainage, distributes loads evenly, and prevents erosion.
Contractors spread and compact the base in layers using heavy rollers or plate compactors. A well-prepared base is essential for both asphalt and concrete driveways, ensuring longevity and resistance to cracks or dips.
Forming and Reinforcement
If the driveway will be concrete, wooden or metal forms are installed to define the edges. These forms ensure the concrete is poured to the correct thickness and shape. Reinforcement materials like rebar or wire mesh may also be laid to add structural strength, especially in longer or wider driveways.
Paving or Pouring the Driveway Surface
The top layer is completed based on the chosen material, whether it’s poured concrete, hot asphalt, or hand-laid pavers, each offering unique benefits in strength, aesthetics, and maintenance needs.
Asphalt Driveways
Hot asphalt is poured, spread smoothly, and compacted with a heavy roller. It’s quick to install, budget-friendly, and ideal for large areas but requires resealing every few years to maintain its strength and smooth blacktop finish.
Concrete Driveways
Concrete is poured, leveled, and shaped using tools like floats and screeds. Decorative options like broom textures or stamped patterns add visual appeal and enhance grip, offering a clean, modern finish with solid durability and long-term value.
Paver Driveways
Individual interlocking pavers are set by hand on a compacted sand base, then filled with polymeric sand. This method offers a stylish, customizable look with excellent drainage, strength, and resistance to cracking or shifting over time.
The choice of material affects the overall look, cost, and maintenance level of the driveway. A skilled contractor from experienced road construction companies can help you choose the best material based on your budget, environment, and design goals.
Curing and Finishing Touches
Concrete and asphalt need time to cure. Asphalt can usually be used within 24–48 hours, while concrete requires 7 days for light use and up to 28 days for full strength. During this time, vehicles should be kept off to prevent surface damage.
Paver driveways, once compacted and sealed, are ready for use immediately. Edging, sealing, and joint sanding are the finishing touches that enhance durability and appearance.
Clean-Up and Maintenance Tips
After installation, contractors clean up debris, remove forms, and restore the landscape. A newly built driveway doesn’t just end with installation, it requires occasional maintenance to keep it in top shape.
- Seal asphalt every 2–4 years.
- Pressure wash concrete and reapply sealant if needed.
- Refill joints and clean stains on pavers.
Regular care extends the life of your driveway and keeps it looking fresh.
Final Thoughts
Building a residential driveway may seem straightforward, but the difference between a surface that lasts a few years and one that lasts decades lies in the details, especially excavation, base preparation, and material choice. By following a professional process and working with trusted road construction companies, you ensure your investment stands the test of time, rain, and tires.